2. Layouting
Now that we have Aka’s head loaded in to our project and we can save and load it, the next step is to lay out the model for rigging, this step is called Layouting.
You can think of layouting as building out the skeleton for our model.
For this chapter we’ll be following the diagram below
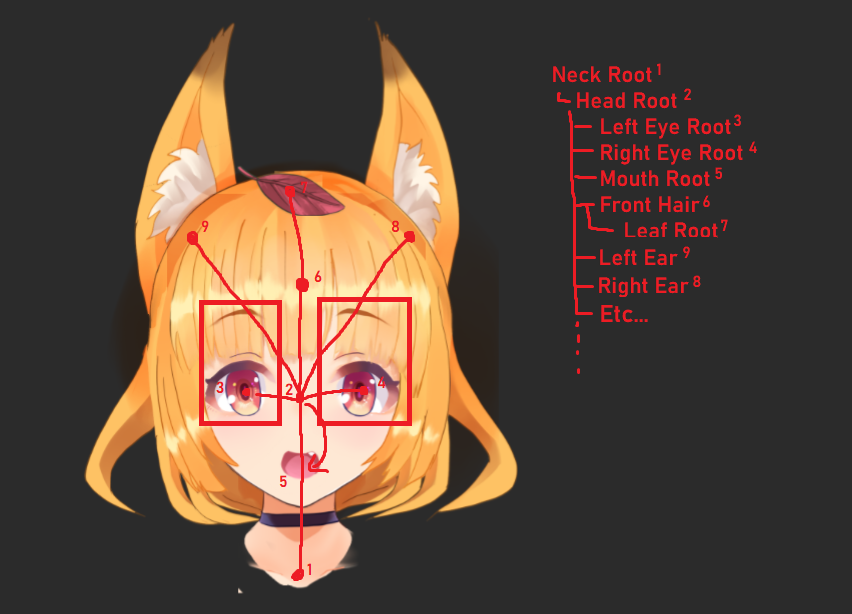
We’ll be using the basic Node to build out this skeleton, which will make some rigging easier later.
Creating our skeleton
1. Adding a Node
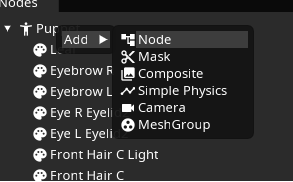
To add new nodes to the tree right click an existing node and select the type of Node you want within the Add submenu, in this case we want the Node node type.
Tip
The
Add submenu will add the Node as a child to the node you right clicked!See the Nodes page for more information about how parenting works!
2. Renaming a Node
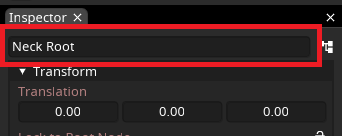
After adding our new Node, we’ll see it appear as “Unnamed Node” within the node tree. We should probably rename it so that it’s easier to to know what it does at a glance.
Click the node and within the Inspector panel, rename the node to “Neck Root”
3. Transforming a Node
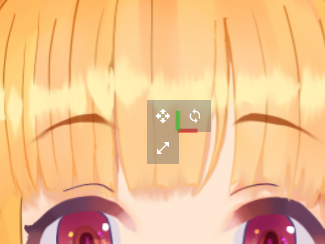
If you look in the viewport with our
Neck Root selected you will see the following gizmo pop up.This gizmo tells you where the node is in the scene, the colors represent where the X, Y and Z axis of the node are pointing
X is red, Y is green, Z is blue. Z is currently obscured by the fact that it’s pointing away from the camera.
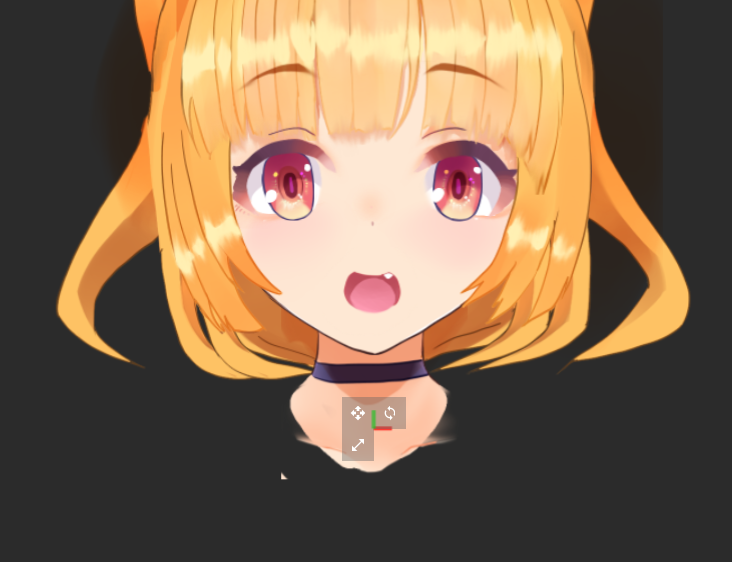
Either by dragging the move gizmo (the button that looks like arrows pointing in 4 directions) or by editing the Translation section in the Inspector, move Neck Root to the bottom of the neck.
4. Finishing the basic Layout
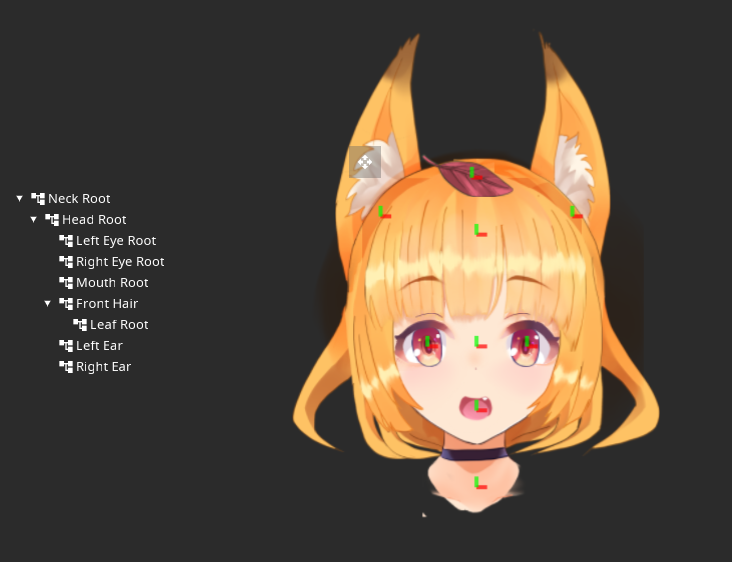
With these 3 basic functions you should be able to create a skeleton, remember that
Add adds nodes as children of another node and that the position of every node is relative to their parent node!Try to re-create this layout using the techniques above.
A challenge
Now that you know the basics of creating a layout, try creating additional layout points for the nose and back hair!
Moving things around
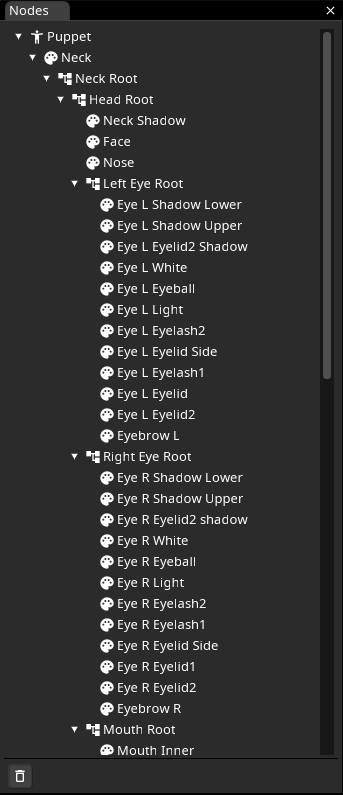
Now that we have our skeleton, it’s mostly just about moving things in to the right place, drag and drop all the Part Nodes (the ones with the color palette icon) in to their place!
Try to roughly follow this layout!
You can now try to select Neck Root and rotate the node around the Z axis (3rd box in the Rotation section or using the rotate Gizmo), notice that all the children of the Neck Root rotate with it!
Congratulations! You’ve finished layouting your model, for now at least.
Tip
You can download the resulting model file
here, if you need a reference!